|
DAZ STUDIO TUTORIALS
Contact Webmaster:

|
|
|
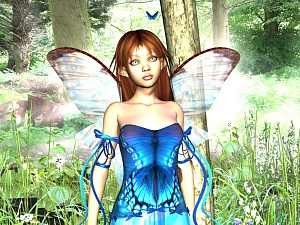
How to correct 'White Out' look. Follow demo below.
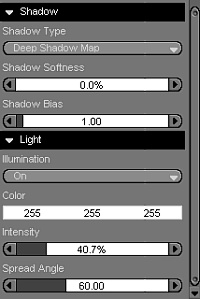
One way to correct this look is to lower intensity of the main spotlight shining on the face and background. Select the spotlight and in perameters, set the light to 'deep shadow map' and lower the intensity of the light to around 40%. You can also move the light farther away from the subject by moving up and angle differently, or by changing the color to a darker hue.
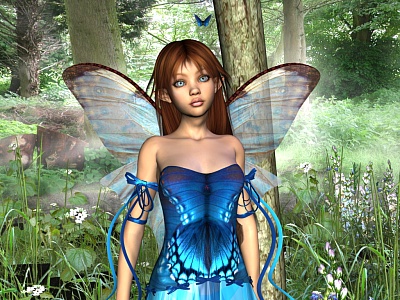
This is the result I got by changing the spotlight to values above in the parameter settings. Her lips, eyes, and wings, are still too white, so I am going to change some other settings, next.
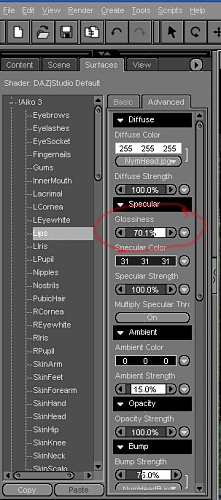
These settings are found in the advanced surface settings. Select the 'lips' and move glossyness to higher value. In D|S, the higher the glossy number the less gloss it has. Most products made for Poser with be preset to 50%, which is usually too bright for D|S. Every surface of anything in your scene will be listed here and can be changed to your preference. I have also changed the 'Opacity' of the wings, so that you can see through them, as well as raising the glossyness, so the will not reflect back so much light. Where to find the surface settings is shown next.
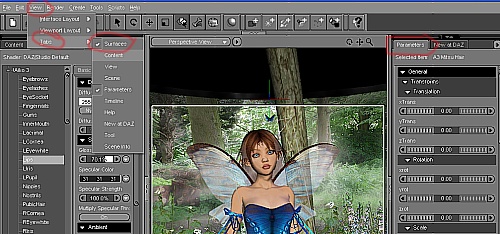
Click onto View>Tabs>Surfaces to open this window to see surface settings. You can drag this window to left and keep open in every picture you work on. You can see I keep 'Surface', 'View', 'Scene', and 'Content' tabs open on left and my 'Parameters' window on the right of my D|S program

The result after all of these changes still do not suit me, so I am going to fiddle with the spotlight some more, below.
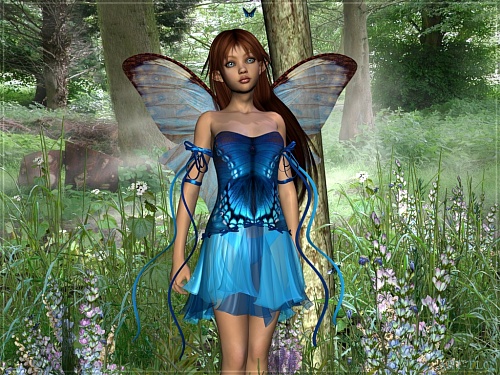
This is the final picture. I have moved the spotlight over her head, shinging down, which removes harshness of the light and gives more realistic feel to the picture. I have also made it slightly blue light, but almost white. The deep shadow map is selected and glossyness on lips and both irises has been raised. You can tweak these settings to your preferences and results will be amazing. Shiny metal to shiny lips can be acheived with very slight changes to these surfaces settings. Experiment and see how all of these settings effect the final result of you renders.
Look at other small DAZ Studio tutorials by selecting from the menu at top left.
|
|